5 Steps to Installing Rot Boards
You can extend the life of your yard’s new privacy fence by installing rot boards. A fence base endures more wear and tear than any other part of the fence structure.
Weed whackers, and debris kicked up from lawnmowers can rip through the wood. In addition, unwanted rodents or wild rabbit may burrow underneath, leaving the bottom of a fence exposed to the elements causing rot damage to set in.
When a fence picket is directly exposed to the soil and water will break down faster from the moisture. It’s important to make sure your fence is stained for additional protection or use pre-treated boards. By using a treated rot board, you can protect the bottom of your fence from this kind of damage.
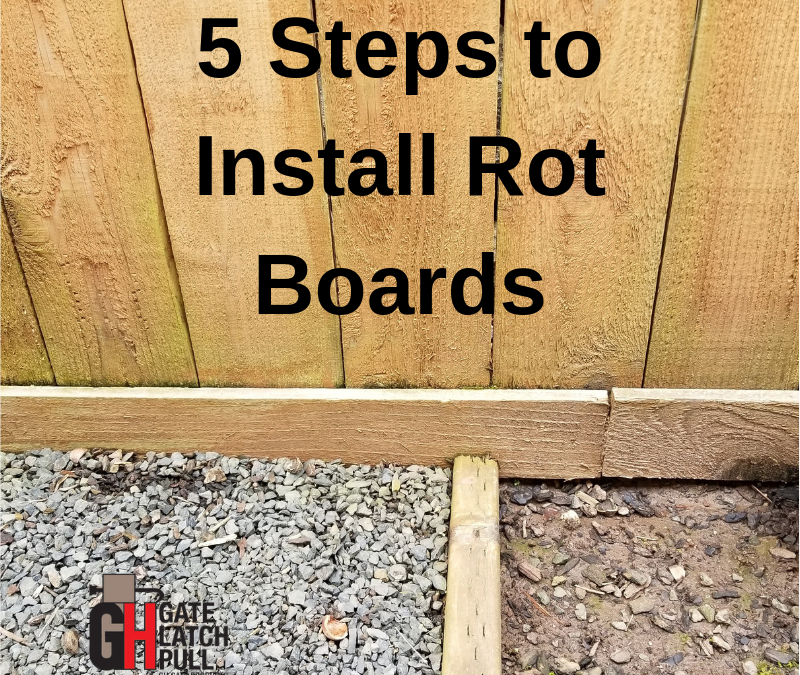
A rot board is typically a treated piece of lumber that is a two-by-six placed horizontally along the bottom edge of the inside or outside of a fence to protect it from the elements.
Ideally you would want to install rot boards when first building a fence, which will allow the pickets to be above the ground level, avoiding the moisture. However, you can install a rot board at any time and they are easily replaced. Either way, a rot board will extend the life of your fence.
Rot Board Installation in 5 Easy Steps:
-
- 1) Gather supplies: for this project you will need a wood pencil, level, measuring tape, work gloves, safety glasses (or goggles) and a circular saw.
-
- 2) Count how many pre-treated boards you will need by counting each section post to post. You will need two by six boards. Most fences have 8 foot intervals from center post to center post, so you will likely buy 8 foot boards. The ends of the fence (first and last sections) are usually longer so you will likely need 10 foot boards for this. The ends need to be flush with the outer sides of the end and beginning of the fence, (hence the longer 10 foot boards). Of course this depends on how far apart your fence actually is so make sure to measure.
-
- 3) To make the right cuts, start by measuring the outer end of the first post to front and center of the next post. Transfer this measurement to one of the 10 foot posts (as this is the beginning post) and cut with the circular saw.
-
- 4) Lay the board flush against each post (skinny side on ground), make sure it’s level and attach to each post using deck screws.
-
- 5) Now take the next board, this one is an 8 foot board and repeat across your fence using the other 10 foot board at the end.
Another option is to install the boards flush against the fence between the posts. With proper care, you can extend the life of your fence by using these rot boards. Don’t forget to attach a Gate Latch Pull while you are at it!
Recent Comments