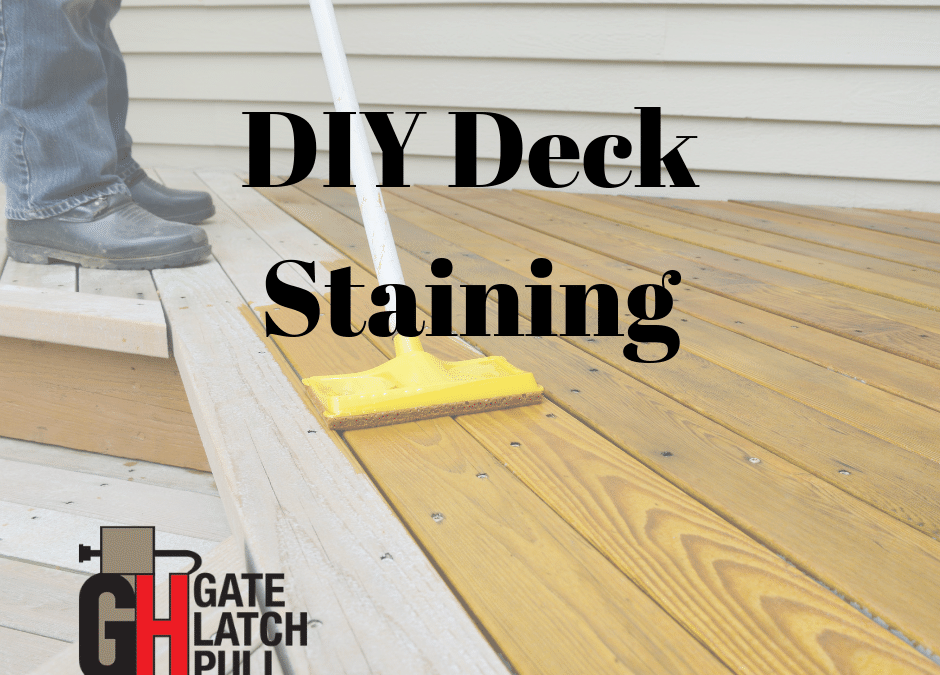
How to DIY Deck Stain in Four Easy Steps
When it comes to your yard, you pride yourself on your lush, perfectly cut grass; however, you don’t want to overlook the importance of keeping up on your deck maintenance. Your deck endures a lot; from heavy thunderstorms with hail, to foot traffic during summer barbeques. Staining your deck is one of the best ways to keep your backyard oasis looking great year around.
Advantages to Staining Your Deck
There are some awesome advantages to staining your deck, which include: protects against mold, aging and insects, can add a decorative look to your deck, adds protection against sun damage, and adds value to a deck and home in general.
DIY Deck Staining Tips
Staining your deck yourself means putting in a lot of time and elbow grease, but it could save you the hassle and cost of hiring a professional to do it for you.
A few things to keep in mind when you decide to take on this project:
● Materials can cost between $20 and $250, depending on stain and size of deck.
● You will have to strip the deck beforehand, which means the whole process will take several days.
● You will need to remove all accessories ahead of time and cover any plants with plastic sheeting.
● Sand the wood thoroughly and then clean the wood deck with a power or pressure washer. Allow it to sit for 1-2 days to guarantee the wood is dry.
● Never apply a stain when it’s above 80 degrees outside, because it will dry too quickly and crack or peel.
● Avoid staining in direct sunlight if possible. Sun dries out stain quickly and can create uneven color or brush marks. Check the weather forecast to make sure you have several dry days ahead.
Choosing the Right Stain
Typically, a more opaque stain is better for weather and wear, but also allows the woods natural grain and beauty show through the finish. You’ll want to choose the right stain that fits not only your aesthetic, but the wood as well. In addition, you’ll want to choose a stain that compliments your house color and/or fence stain color as well.
• Clear and wood-toned finishes are designed to enhance wood’s natural color.
• Semi-transparent deck stains are lightly pigmented and let grain show through, but go a long way toward changing the tone of your wood. Choose grays, blues, greens, reds, and browns.
• Solids and semi-solids nearly obscure wood grain but allow deep, vibrant colors. These are the toughest finishes. Most stains come in 1-gallon containers and provide around 200 to 300 square feet of coverage depending on the thickness of the stain. On average, it is good to estimate around 250 square feet of coverage.
Step one: Clear off your deck.
Lowes has a great step-by-step guide on cleaning your deck; however the task is relatively simple. Clear your deck of any furniture and sweep off any debris on and in between the planks of wood.
Step Two: Sand. You will want to sand down any splintered areas, replace any damaged wood, and attend to any popped or missing nails or screws.
Step Three: Next you will apply cleaner with a stiff-bristled broom
(avoid using a wired broom, for it can damage the wood); some may opt to use a pressure washer. Scrub tough areas and don’t allow the cleaner to puddle. After the cleaning process is complete, allow up to two days for it to dry before applying a sealer.
Something very important to keep in mind when taking on this project is to protect any greenery surrounding your deck. Covering plants and shrubs with plastic tarp will protect them from any harmful chemicals. Also, apply painter’s tape to any nearby surfaces that you may need to protect.
Step Four: Applying the Deck Stain
Apply the deck stain with a natural bristle brush. A roller gets the job done faster, but brushing helps force the stain into open grain and pores.
Refinishing and Deck Maintenance:
Even the best staining jobs require periodic refinishing, usually every two or three years, or at the earliest signs of wear. Keep your deck looking great between staining by sweeping and rinsing it off thoroughly.


Recent Comments
Original EZGT001 Gate Latch Pull In Black
Original EZGT001 Gate Latch Pull In Black
Original EZGT001 Gate Latch Pull In Black
Original EZGT001 Gate Latch Pull In Black
Original EZGT001 Gate Latch Pull In Black