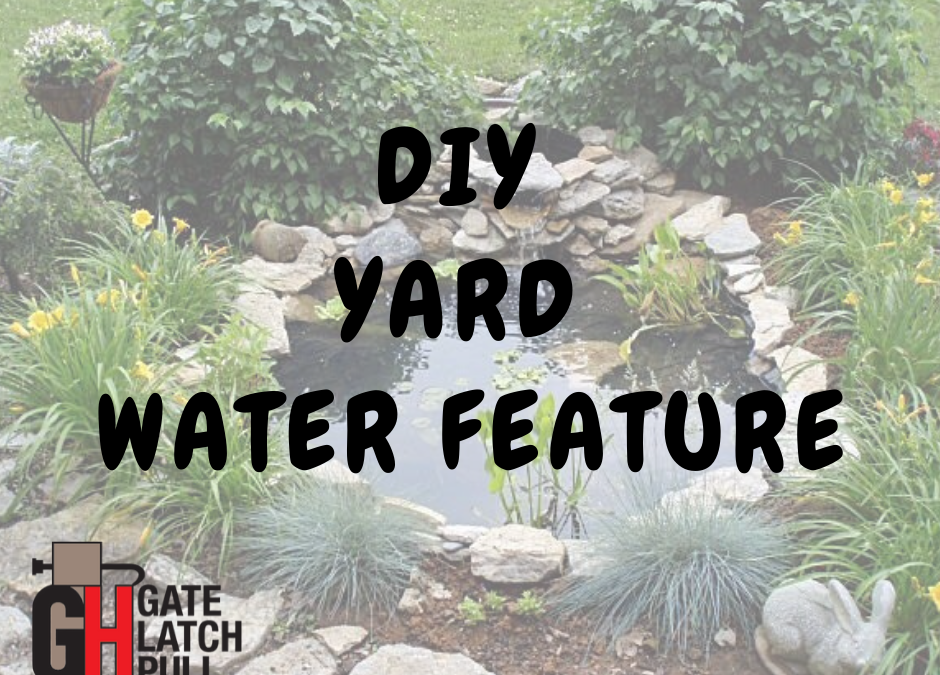
DIY YARD WATER FEATURE
As an attractive focal point, water features are a fantastic addition to your yard. Installing a water feature is an affordable DIY project; giving you the opportunity to customize it and give your home a decorative edge.
Follow these steps to add a lovely and serene feature to your yard- sure to make your neighbors jealous!
WHAT YOU’LL NEED:
-shovel
-gloves
-pond kit
-underlayment
-rubber liner
-rocks
-water plants
HIT THE STORE:
Your water feature requires a pond kit that has several components, usually sold in pond kits, to prevent it from turning green and stagnant. To ensure your pond remains attractive and functional, an agitator such as a fountain or bubbler keeps the water oxygenated. A filter cleans the pond water, while a pump circulates the water through the filter and fountain.
You can choose to purchase a plastic pond mold that is typically kidney shaped, or you can customize the size and shape of your pond yourself.
Most home improvement and landscape shops carry the supplies you’ll need.
DIG:
Whether you choose to purchase the pond or design the shape and size yourself, determine the placement of the pond in your yard and mark the outline of the pond with landscape paint. Dig the hole wide and deep enough to accommodate the pump and pond.
UNDERLAYMENT AND LINER:
Underlayment protects the rubber liner from tears caused by roots and rocks. Spread out a large piece so it covers the bottom and sides of the hole and extends up and out of the pond. Spread a large piece of pond liner so that it covers the underlayment. Temporarily secure both pieces with large rocks.
ADD WATER:
Using a garden hose, fill the pond halfway with water so that the underlayment and liner settle into place. As the pond fills, adjust the liner edges as needed by trimming down the liner edges or hide the liner by folding it under the rocks.
POSITION THE PUMP AND DECORATE:
Follow the manufacturer’s directions and begin assembling the pond kit and pump with the nozzle head of your choice. Set the pump housing into the middle of the pond, making sure the pump can be completely submerged. Carefully position rocks around the base of the pump to keep it in place.
This is also the perfect time to add accessories such as other rocks and decorative features to the pond. Decorative features and attachment materials are usually sold separately from the pond kit, such as diverter valves and tubing.
FINISHING TOUCHES:
As you complete filling the pond with clean water from the hose, you are now able to to put the finishing touches on your water feature. Arrange rocks and mulch around the pond to completely conceal the underlayment and liner. Add water plants such as floating lily pads or other aquatic plants for a decorative touch to the pond’s surface.
Plug in the fountain and turn it on the fountain to ensure that it works properly…and voila! Enjoy your fabulous new water feature!
Recent Comments